How to Safely Clean Cat Ears
While cats are excellent self-groomers, they often need help when it comes to ear cleaning.

Cats are expressive animals that use both verbal and nonverbal language to communicate. Like other animals, cats use their ears to listen to their surroundings; however, their ears can also express emotion. A neutral ear position may mean that your cat feels happy and relaxed, while ears that are low and sideways could indicate that your cat is nervous or frightened.
As cats rely on their ears to hear and communicate, keeping their ears clean and healthy is important. The structure of a cat’s ear canal often makes it difficult for the ear to expel material within the horizontal canal naturally. Human assistance is often needed to avoid uncomfortable symptoms like irritation or itchiness. Failure to regularly clean your cat’s ears could result in an ear infection.
Cleaning your cat’s ears does not require any special equipment. Learn how this simple procedure can be safely done at home.
About Cat Ears
Before getting started with an ear cleaning, become familiar with the parts of a cat’s ears. Cat ears have three main parts: the outer ear, middle ear, and inner ear. The outer ear is the ear flap and is usually upright in cats. Earflaps are used to funnel sound into the ear canal. Cats typically have long, narrow ear canals, unlike human ear canals, which are short.
The eardrum separates the outer ear and middle ear. Also known as the tympanic membrane, the eardrum is a thin membrane that is fragile and susceptible to damage and disease. The middle ear comprises three tiny bones, and an air-filled cavity is known as the bulla. It also contains the Eustachian tube, a thin tube that leads from the bulla to the back of the mouth.
A cat’s inner ear contains nerves and connects to the brain. This part of the ear is important for hearing and balance. The inner ear of a cat should be a healthy pink color. It is normal to see a small amount of black discharge in some cats. If there is a large amount of black wax present, it could indicate the presence of ear mites.
Getting Started
Start by gathering a few supplies you’ll need for a safe and thorough clean. First, you may need a towel or blanket to wrap around your cat to prevent your pet from moving or causing injury to you or itself. Ideally, you should have someone to help you hold your cat while you clean its ears. Next, you’ll need cotton gauze pads to help wipe out the ears and a liquid cleaning solution that is specifically formulated for cleaning cat ears. Ask your veterinarian for recommendations for an ear cleaner or request a prescription.
How to Clean Cat Ears
- With your cat held or swaddled firmly by a helper, gently grasp the ear flap (pinna) with one hand. Pull the ear flap back slightly to expose and straighten the ear canal.
- Using your other hand, squeeze the ear cleaning solution into your pet’s ear. Be sure that the solution is room temperature unless instructed otherwise. Do not insert the tip of the solution bottle into the ear to prevent the spread of yeast or bacteria. Fill the canal completely and don’t worry if some solution comes out of the canal.
- While continuing to hold your cat’s ear flap with one hand, gently massage the base of the ear opening with your other hand. Massage for approximately 30 seconds to allow the cleaning solution to break up debris in the ear canal. It is normal to hear some swishing sounds as the cleaning solution moves throughout the ear canal.
- Allow the solution to sit for about 5 minutes. Your cat will likely want to shake its head during the time – allow the cat to do so. Head shaking will help to further dislodge any dirt or debris that may be deep within the ear canal.
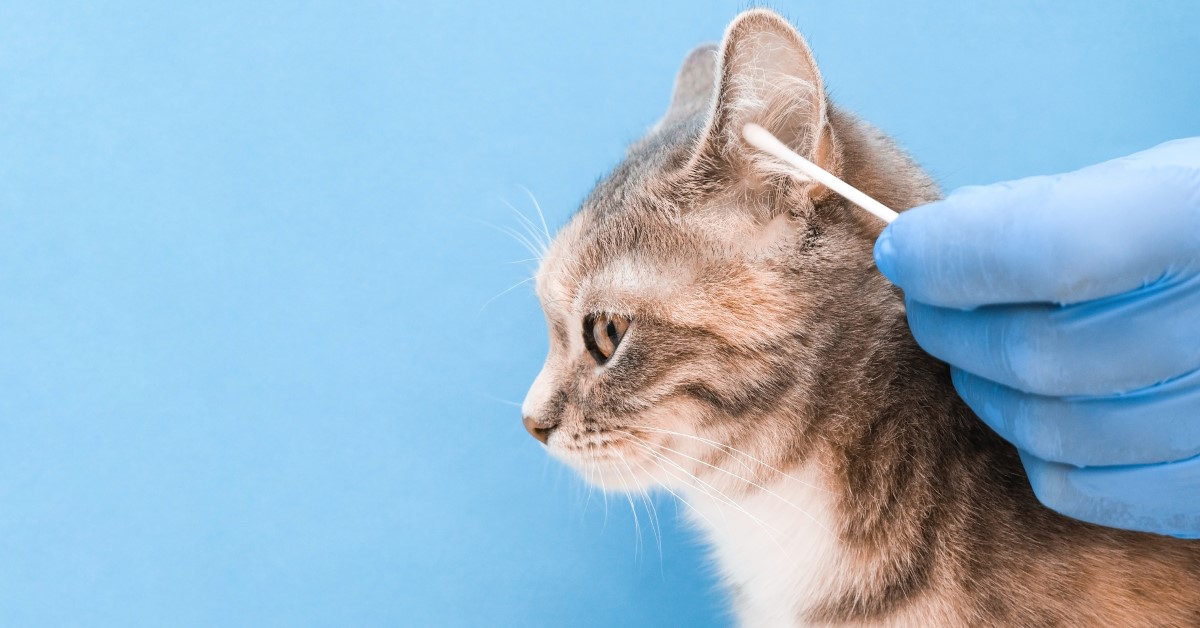
- After the 5 minutes is up, use a cotton gauze pad to wipe away any exposed dirt, debris, or oil that may have found its way to the surface of the ear. Only go into the ear canal as far as your finger can safely reach and no further to prevent damage to the canal. Do not use cotton-tipped applicators (Q-tips) to prevent pushing the debris further into the ear canal.
- Repeat the process with the other ear. Be sure to give your cat lots of praise during and after the ear cleaning. Repeat regular ear cleanings as often as recommended by your veterinarian.
What to Look for
Ear cleanings offer the perfect opportunity to get a good look inside your cat’s ears. There are several things you want to look for when cleaning your pet’s ears, including signs of possible infection. If you discover any of the following while cleaning your cat’s ears, speak with your veterinarian about your concerns:
- Redness of the ear canal
- Odor around the ear
- Ear swelling
- Sensitivity or pain around the ears
- Ear discharge (pus, blood, or other fluid)
- Excess pawing, scratching, or rubbing the ears
- Masses in or around the ear
If your cat objects to having their ears handled, it may be because their ears are causing them pain. Schedule a visit with your veterinarian for an examination before proceeding with an at-home ear cleaning.
Keeping Your Cat’s Ears Healthy
If done right, cleaning a cat’s ears should be a relatively quick and painless experience. Contact your vet for guidance if you suspect an infection or other ear-related problem.
Ready to start saving money on pet wellness care?
Then take a look at Mint Wellness, the pet wellness plan that provides fast reimbursement on routine pet care. Save on vaccinations, wellness exams, preventatives, dental, and more!
Learn More


